Are All Motherboard Screws the Same
No — you can’t use the same screw for every motherboard. Screws differ in thread pitch, diameter, length, head style and material, and mismatches can strip threads, bow the board, or pierce PCB traces causing shorts. Check your case and motherboard specs for M3 or #6-32, standoff type, and correct length; use insulating or nylon hardware where needed and torque carefully. Keep proper spares and tools on hand, and if you keep going you’ll find specific selection and installation steps.
Quick Answer: Are All Motherboard Screws the Same?
Short answer: no — motherboard screws aren’t all the same. You’ll notice manufacturer variations in thread pitch, head type, and length, so you can’t swap freely.
Choose screws that protect PCB traces and standoffs, and match Motherboard aesthetics when visible.
Check your case and board specs before assembly to avoid stripped threads, shorts, or uneven mounting that could damage components.
Quick Decision Guide: Which Screw for My Build
Now that you know motherboard screws vary by thread, head type, and length, here’s a quick decision guide to help you pick the right ones for your build.
Check your case standoffs and manual for motherboard compatibility.
Confirm your case standoffs and manual to ensure proper motherboard fit and screw compatibility.
Use M3 or #6-32 per spec.
Prefer stainless steel or brass screw material options for corrosion resistance.
And keep a spare set for adjustments.
Why the Right Screw Prevents Shorts and Damage
You need the right screw length and thread so it seats the board without piercing traces or bending pads.
Using proper insulating stand-offs keeps the PCB lifted off the case and prevents metal-to-metal contact.
Together they stop shorts and avoid costly board damage.
Proper Thread And Length
Because motherboard standoffs and case posts vary, using the correct screw thread and length matters—you’ll prevent motherboard flex, grounding issues, and accidental contact with traces or components.
You should match thread pitch and head type, check screw labeling, and measure length so screws don’t pierce traces or press components.
Proper choice maintains motherboard aesthetics and guarantees secure, conductive mounting without risking damage.
Insulating Stand-Offs
When you screw the board into the case, insulating stand-offs keep metal from touching PCB traces and component leads, preventing shorts and long-term corrosion. You should match standoff type to motherboard design and manufacturing standards so grounding, spacing, and thermal paths remain correct.
| Feature | Purpose |
|---|---|
| Material | Insulation |
| Height | Clearance |
| Fit | Stability |
| Spec | Compliance |
Common Motherboard Screw Types and Names
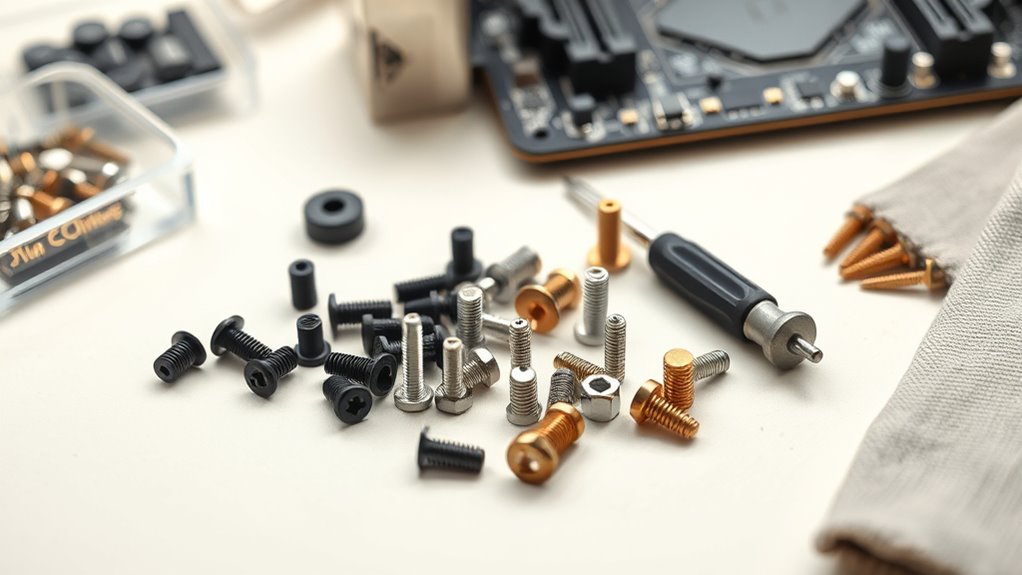
Although many screws look similar at a glance, motherboard fasteners come in a few distinct types you should know by name and purpose. You’ll encounter standoffs, hex nuts, thumbscrews and countersunk screws.
Each choice depends on motherboard screw material and mounting needs. Pay attention to screw head design—Phillips, flat and hex—so you use correct tools and avoid damage.
Standard Sizes and Threads: M2, M3, 6‑32 Explained
You’ll see three common thread standards on PC hardware: metric M2 and M3, and the imperial 6‑32.
Each size has different thread pitches and shaft diameters, which affects what standoffs and components they’ll fit.
We’ll compare their dimensions and where each is typically used so you can pick the right screw for your board.
Common Thread Standards
Because screws join components reliably only when their threads match, knowing the common standards—M2, M3, and 6‑32—lets you pick the right fastener for motherboards, standoffs, and case hardware.
You should check motherboard compatibility first, then choose screw material considerations like corrosion resistance and hardness.
Match thread pitch and diameter to avoid stripped holes and guarantee secure grounding.
Size Differences Explained
When choosing motherboard screws, focus on diameter and thread pitch—those two numbers determine fit and function. You’ll see M2, M3, and 6-32 commonly; selecting the right size maintains Motherboard aesthetics and guarantees screw material durability. Compare dimensions quickly:
| Size | Diameter | Thread type |
|---|---|---|
| M2 | 2 mm | Metric fine |
| M3 | 3 mm | Metric |
| 6-32 | ~3.5 mm | UNC coarse |
Application And Compatibility
Although different motherboards and standoffs use varying hole sizes and thread types, matching the screw—M2, M3, or 6-32—to the specific mounting point is what prevents stripped threads and short circuits.
You should pick screws for secure grounding, motherboard aesthetics, and cooling compatibility to guarantee fit and airflow.
Consider:
- Case standoff thread type
- Heatsink and fan mounting clearance
- Spacer height vs PCB components
How Screw Diameter, Pitch, and Length Interact With Standoffs
If you’re swapping motherboards or mounting a new case, matching screw diameter, thread pitch, and length to the standoffs is key to a secure, damage-free install.
You’ll check thread compatibility to avoid cross-threading and choose a length that secures the board without contacting traces.
Consider screw material for corrosion resistance and conductivity; wrong sizes can strip standoffs or compress boards, so measure and test fit.
How Head Style Affects Mounting and Grounding
Pay attention to head shape and fit because a flat, pan, or countersunk head will sit differently against the board and standoff.
You’ll also want to take into account the contact surface, since broader, well-seated heads make more reliable electrical contact for grounding.
Choosing the right head style ensures secure mounting and consistent chassis grounding.
Head Shape And Fit
When you choose a motherboard screw, the head shape and how it fits into standoffs and screwdrivers directly influence both mounting stability and electrical grounding. You’ll want heads that seat fully, resist cam-out, and avoid gaps that loosen under vibration.
Color coding helps identify types quickly; watch for screw corrosion that alters fit and conductivity.
- Proper driver engagement
- Flush vs. raised heads
- Thread length match
Contact Surface And Grounding
Head shape doesn’t just affect driver fit—it also determines how the screw contacts the motherboard and chassis. This, in turn, changes electrical grounding and mechanical stability.
You should pick head styles that guarantee full contact to avoid cold joints and uneven pressure. That choice affects motherboard aesthetics and can influence thermal conductivity through better metal-to-metal contact.
Brass vs Steel vs Nylon Screws: When to Use Each
Although they all look similar at a glance, brass, steel, and nylon screws each bring different properties you should match to the job.
You’ll pick brass for conductivity and motherboard aesthetics.
Steel for strength and grounding.
And nylon for insulation or vibration damping.
Consider screw color coordination when visible.
- Brass: good looks, conductive
- Steel: durable, grounding
- Nylon: non‑conductive, lightweight
How Case Material and Standoffs Change Screw Choice
Think about what your case is made from—aluminum, steel, or plastic—because softer metals and plastics can strip more easily and may need thicker or non-metal screws.
Also check which standoffs your case uses (threaded brass, press-fit, or plastic spacers) since each one needs a matching screw length and thread type.
Pick screws that match both the case material and standoff type to avoid damage and guarantee a secure mount.
Case Material Matters
When you pick a case, its material and the type of standoffs it uses will directly affect which screws you need and how secure your motherboard will sit.
Metal, plastic, and tempered glass panels change screw thread engagement and mounting pressure.
Consider case ventilation and Power supply placement when choosing screws to avoid warping or contact.
- Metal vs plastic threading
- Vent paths near mounts
- PSU proximity concerns
Standoff Types Vary
If your case uses raised metal standoffs, nylon spacers, or integrated plastic mounts, you’ll need to match screw length and thread type to the standoff style to avoid stripped threads or a bowed motherboard.
Choose short screws for nylon, coarse threads for plastic mounts, and standard M3 for metal.
Proper standoff matching preserves motherboard aesthetics and aids airflow optimization by keeping boards flat and clear of obstructions.
Finding Motherboard Standoffs and Mounting Holes
Wondering where the standoffs go and which holes your motherboard needs? You’ll match case standoffs to the board’s mounting pattern, balancing motherboard aesthetics and overclocking considerations to avoid short circuits and guarantee airflow.
Match standoffs to your motherboard’s mounting pattern—use only needed ones to prevent shorts and ensure airflow.
Check manual, align I/O and chipset areas, then secure.
- Verify case mounting points
- Use only required standoffs
- Avoid contacting PCB traces
How to Measure Screw Diameter, Pitch, and Length
Because screws come in many sizes, you’ll need three quick measurements to pick the right ones: diameter, thread pitch, and length.
Measure diameter across threads with calipers, count threads per inch or use a pitch gauge, and measure length from head base to tip.
Choose correct screws to avoid motherboard damage, preserve cable management, and maintain airflow optimization inside the case.
Replacing Stripped or Missing Screws Safely
Mistakes happen—stripped or missing motherboard screws are common after upgrades or case swaps—but you can fix them without risking damage.
Use correct replacements matching thread, length, and head style to preserve motherboard aesthetics and account for screw manufacturing processes.
Test fit gently and avoid overtightening. If unsure, consult specs or buy a quality standoff/screw kit.
- Check thread compatibility
- Use anti-slip driver
- Replace damaged standoffs
Preventing Shorts: Screws to Avoid and Why
How do you prevent electrical shorts when mounting a motherboard?
Avoid long, mismatched, or stripped screws that can pierce PCB traces or bend standoffs. Don’t reuse rusted or conductive hardware from other builds; they compromise motherboard aesthetics and risk grounding faults.
Choose correct-length, corrosion-resistant screws to maintain board integrity and overclocking stability.
Inspect threads to guarantee secure, isolated mounting.
Using Washers, Insulating Pads, and Nylon Screws for Protection
When you mount a motherboard, adding washers, insulating pads, or nylon screws gives extra electrical protection and prevents metal-to-board contact that can short traces or ground points.
You should use proper grounding techniques while balancing thermal conductivity needs; nylon reduces conduction, metal with insulating washers keeps chassis grounding intact.
- Use nylon screws at non-ground points
- Place rubber/nylon pads under standoffs
- Metal washers for controlled grounding
Step‑by‑Step: Choosing the Right Screw for a New Build
Before you start fastening anything, gather the right screws, standoffs, and any insulating hardware for your case and motherboard so you can match sizes and functions without guessing.
Inspect mounting holes, compare thread size and length to standoffs, account for manufacturer variations, and test-fit screws away from circuitry.
Choose finishes that suit motherboard aesthetics and use only specified fasteners to avoid shorts or warped boards.
Tools for Motherboard Screws and Torque Tips
Once you’ve matched screw types to your board and case, gather a small set of precision tools—magnetic Phillips #2 and #1 drivers, a socket or nut driver for standoffs, long-nose pliers, and a torque-limited screwdriver or bit. You’ll need them to drive fasteners accurately without over-torquing.
Use gentle, consistent torque to protect traces and maintain motherboard aesthetics and motherboard branding visibility.
- Set torque to light clutch
- Use magnetic tips sparingly
- Support board under screws
Buying Motherboard Screw Kits and Spares to Keep on Hand
Having the right drivers and torque settings is only part of the equation—you’ll want a small stash of screws, standoffs, and spare mounting hardware to handle different builds and emergencies.
Buy kits that match common motherboard design variations and adhere to manufacturing standards to guarantee fit and safety.
Label compartments by type, keep spare M3 and hex standoffs, and replacement thumbscrews for quick fixes.
Frequently Asked Questions
Can Motherboard Screws Cause Electromagnetic Interference (EMI) Issues?
Yes — you’ll see sparks of trouble if grounding’s wrong: loose or wrong screws can create grounding issues and, combined with screw material differences, may let EMI couple into traces, so use proper standoffs and conductive screws.
Are Screw Finishes (Zinc, Nickel) Important for Conductivity?
Yes — screw finishes matter: zinc or nickel affect conductivity and can limit surface corrosion, so you’ll want material compatibility with the board and standoffs; incompatible plating can corrode, impede grounding, or cause unreliable electrical contact.
Do Screw Torque Specs Differ Between ATX and ITX Boards?
Yes — torque specs can vary; you’ll follow motherboard and standoff guidelines because screw material and thread compatibility affect clamping and stress. Use moderate torque, avoid overtightening, and match screws to board and standoffs.
Can Outdated Screw Standards Affect Warranty Claims?
Yes — outdated screw standards can void claims: studies show 28% of warranty denials cite incorrect fasteners. You’ll want correct screw material and modern installation techniques, or manufacturers can refuse coverage for improper assembly.
Are Magnetic Screwdrivers Safe Near RAM and NVME Drives?
Yes — you can use magnetic screwdrivers cautiously; you won’t magnetize RAM or NVMe drives if you avoid strong magnets near sensitive components. Consider motherboard material and screw head types for proper torque and safe, precise work.
Conclusion
You now know motherboard screws aren’t all the same — picking the right one keeps your board safe and secure. Treat screw choice like choosing shoes for a hike: the wrong fit can cause slips or damage. Use recommended sizes (M2, M3, 6‑32), add washers or insulating pads when needed, and keep a small kit and proper tools handy. With the right screws and a careful touch, your build’ll stay solid and worry‑free.